The Craft In Me

A blog devoted to all my crafty endeavors.

Tuesday, August 31, 2010

Giveaway featuring LaughingChicken


Welcome to my very first GIVEAWAY, this is so exciting!

I’d like to introduce to you Jennifer’s beautiful knitted scarves, wraps and shawls from her Laughingchicken Etsy shop. I love the warm rich colors. Fall and winter are soon on their way, it’s always nice to wrap up in a cozy and styling scarf tossed over your shoulder.

Here's a bit about Jennifer -

From as far back as I can remember, I have always loved to craft! When I was a little girl, I didn't just play house, I played "17th century house" or "middle ages house" and incorporated some craft into it from that era. So now I am just a grown up girl still playing my favorite game!

People always ask me, "where did laughing chicken come from"? My mother didn't teach me how to cook, but she did teach me to look at life with a sense of humor. We always had a rubber chicken hanging in the kitchen, and I still have one today. It is a reminder to look for the fun in everyday things.


Right now my everyday fun consists of life filled with family, friends, faith, and knitting something beautiful every chance I get! I think I do things backwards where knitting is concerned...Rarely do I find a pattern and then look for yarn to make that item. Instead I find interesting yarn and then see the item in my mind that it should become.

One of the best things about knitting is sharing your work with others. It's a wonderful feeling when someone wears something I have created, and I am so excited to be sharing my work with Jalinda's blog readers in this giveaway! - Jennifer

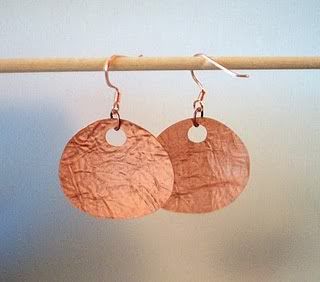
Check out a few of my favorites from laughingchicken:


Here’s how to enter:

Be or become a follower of this blog.

Leave a comment on this post telling me which scarf, shawl or wrap you’d like to have.

US residence only please.

For a second entry, simply publish a post on this giveaway (just put your post link in the comments).

Giveaway anything up to $50 - Giveaway ends September 8, 2010, 9pm CST

- Jalinda
A Little Knick Knack

Sumo Sweet Stuff

Monday, August 30, 2010

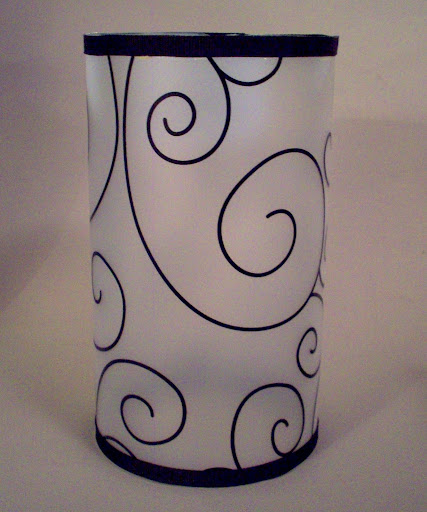
Luminary 1-2-3!

Make this easy luminary in minutes.


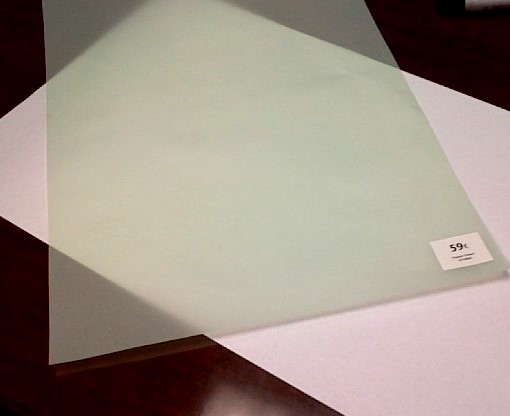
I picked up this awesome velum from Michaels.

Once I saw the swirls that was it, I had to have it!


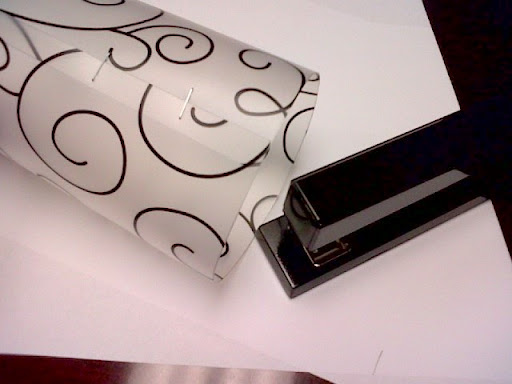
I cut the velum to about 10" high. Then rolled up and simply stapled to keep it closed.


This velum looks great all on its own with it's foggy color, however, I added another thinner piece of velum to give it some additional color.

The second velum doesn't need to be stapled, just roll and drop inside of the first velum roll.


It's not too big of a difference just adds a hint of color.


And then I glued ribbon to the top and bottom ends. This is an extra but not necessary step. I kind of think it looks great without the ribbon, but it's nice to have that option. :)


I'd recommend to use an LED light for this luminary. But if you want a real candle, find a small candle and place inside of a glass holder to keep the flame away from the luminary.


Easy and fun!


Linking to...

Making Keeping It Simple

The DIY Show Off The Girl Creative

BWS tips button

Sumo Sweet Stuff Photobucket
Birthday Wedding cakes crafts parties

BWS tips button TT 125


 http://www.thethriftyhome.com

NightOwlCrafting

Beyond The Picket Fence

Get your craft on Thurs.


Chic on a Shoestring Decorating


Wednesday, August 25, 2010

100 Followers Plus!

A big THANK YOU to all you followers, what an exciting milestone to reach!!!

Blogging is such a fun way to express my craftiness and I'm happy to know that there are so many others who love crafts just as much as I do. So I hope you look forward to more crafty tutorials to come.

Also, I will be having a Giveaway very soon to celebrate this memorable event so please stay tuned.

Thanks again 100 plus followers! :)

Sunday, August 22, 2010

Cardboard Box Transformation

Initially this box was meant as a mail holder but for now it's working quite well in my bathroom holding soaps, brushes, and the like.

This project I used in a blog swap with Craft Envy is a great craft for recycling, I really enjoy how it turned out.


Using scissors I cut about 10” off the bottom portion of a tall cardboard box and leaving a few extra inches for some wiggle room.


I gave the two opposite sides a nice rounded shape to add interest.

Cutting the cardboard was a little more challenging then I imagined, it helped to score the box a few times before making the cuts.


I primed the box and let dry.


Next was the black paint. I first painted it using regular acrylic paint and a sponge brush. But for the final coat, I finished with spray paint. Let that dry.


The fabric.


I’ve used this fabric so many times simply because I love it, plus you can’t go wrong with black and white.

I cut a square the size of the front of the box leaving about 1/2" around the sides.

Using Mod Podge, I applied the fabric to the front. And glued on some black ribbon around the fabric to clean up the edges.

It is not shown here, but it’s best to paint the front of the box white, underneath wherever the fabric will go. Otherwise the black shows through the fabric and the color is not so bright. (Yeah, I learned that the hard way)

Here was my favorite part, adding this simple curved drawer handle.

It works so perfectly with the cardboard because it doesn’t even need screws.

The “screws” on the front are non functional, they’re just for looks.

Applying more Mod Podge I glued the drawer pull right onto the fabric and placed the box upward to let the drawer pull dry in place.


I thought the box works great as a mail holder.

And since the box is lightweight, I simply poured a cheap bag of pebbles in the bottom to give it some weight.

A great way to recycle and make it your own!

Linking to...


Making The DIY Show Off


Birthday Wedding cakes crafts parties


BWS tips button


Get your craft on Thurs.

Beyond The Picket Fence

Chic on a Shoestring Decorating

A Little Knick Knack