 Here's a spin on a typical squared bulletin board.
 I put this up for my daughter's pictures and scraps of paper. Of course you can personalize this with any type of fabric.
I cringe every time I throw away Styrofoam, besides it being horrible for the environment, it really is a good crafting medium.
Even without using the cork board on top this is a great way to recycle Styrofoam.
Materials I used:
Styrofoam
A roll of cork board
Fabric
Hot glue gun
Mod Podge
Vacuum (you're gonna need it)


Initially I wanted to use JUST the cork board, but it was on the thin side so it needed some extra thickness. That's when I turned to this Styrofoam. There was a ton of it left over from my daughter's giant doll house we put together. I knew it could be used for something, and this was it!
First I free hand drew a flower peddle on the Styrofoam and cut it out with a knife.
Here is where the vacuum comes in, this stuff gets everywhere!

A plastic lid was used to trace the middle circle.

 So with all that cut out, now on to the cork board.
Simply trace and cut.


I hot glued the Styrofoam to the cork board.
* (I recommend using a regular glue for this step since the hot glue melts the Styrofoam, and gives off fumes).
Any one up for an oatmeal cream pie? :)


On to the fabric.
These vibrant fabric sheets I picked up from Joann's, which was actually my first time there, can you believe it?
I was happily surprised that in the fabric section, they have a nice variety of squares of fabric for $2, perfect for crafting!

Anyway, I used iron-on bonding strips to bond the fabric to the cork board.
Again, this step can be substituted for another type of glue.

After fabric is attached to the cork, cut around at least ½ inch of fabric.
Then snip all the way around.
Use Mod Podge or glue down the sides.

To hang, I hammered a nail in the wall and simply punched each petal into place.
 Complete & cute!
This project turned out a bit lengthy - this was my first go at it, and I'm sure there can be substitutes and shortcuts made.
Linking to:


 So with all that cut out, now on to the cork board.


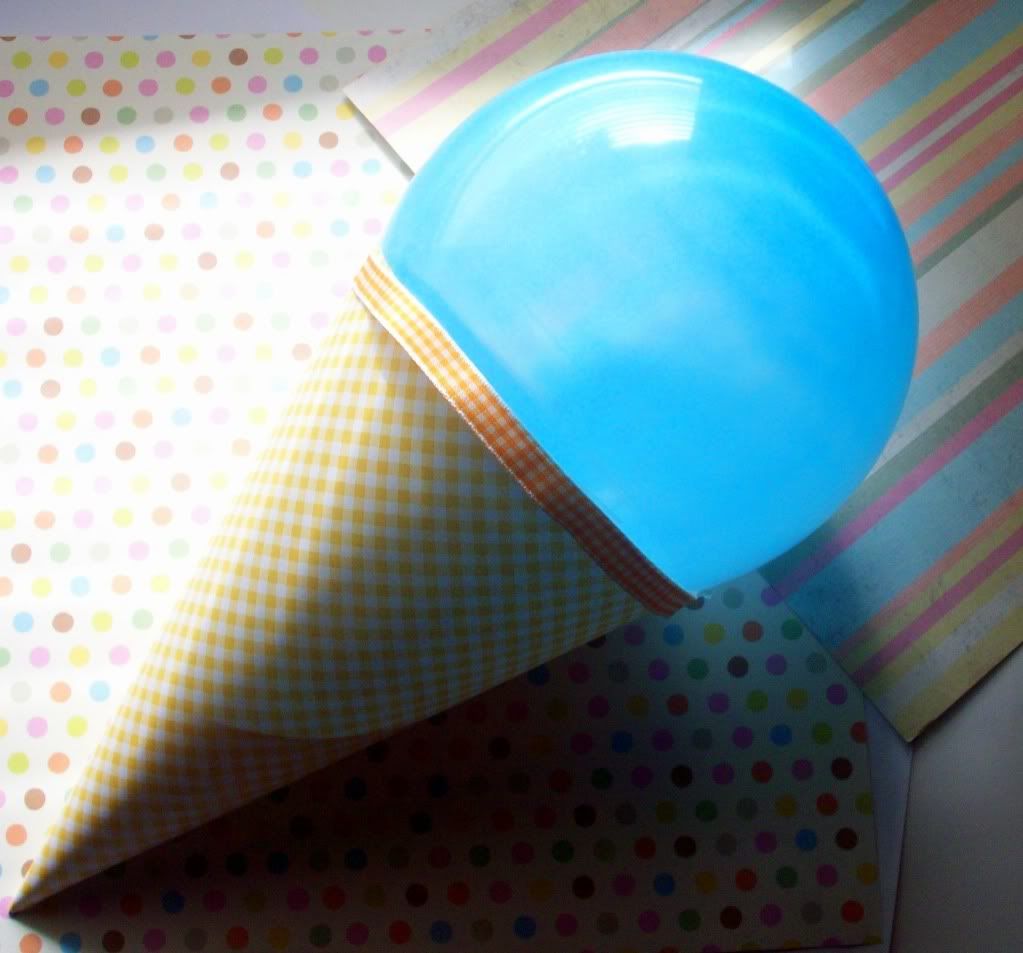
 Next tape the ribbon around the balloon and cone.
 This craft featured at:

